Deviled Eggs with Smoked Paprika and Fresh Dill
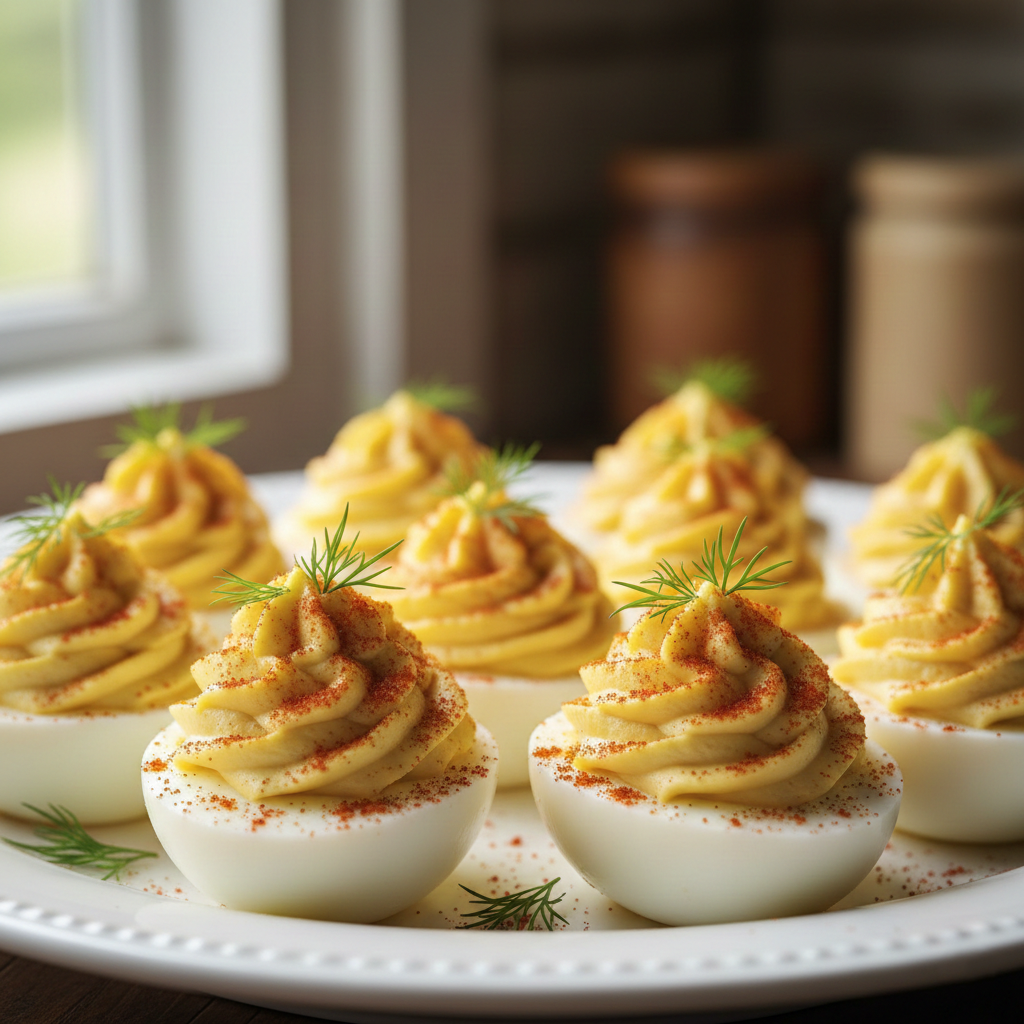
A close-up of the finished dish, ready to be served.
There is something undeniably magnetic about a platter of deviled eggs. You spot them across the room at a family gathering—bright, golden-yolk gems nestled in pristine white cups—and suddenly, you’re hungry. They are the ultimate bite-sized comfort food: creamy, savory, tangy, and satisfyingly rich.
While the classic recipe holds a special place in our hearts, today we are elevating the humble picnic staple. We aren’t just mashing yolks with mayo; we are creating a high-protein masterpiece featuring the smoky warmth of high-quality paprika and the grassy, aromatic brightness of fresh dill. This version is elegant enough for a dinner party yet simple enough for a casual Sunday afternoon.
If you have ever struggled with rubbery whites, green-ringed yolks, or filling that lacks punch, you are in the right place. This guide will walk you through the science and soul of making the perfect Deviled Eggs with Paprika and Dill.
Why This Recipe Is A Must-Try
Why should you choose this specific variation over the hundreds of others out there? The answer lies in the balance of flavors.
Often, deviled eggs can be one-note—just heavy mayonnaise and egg. This recipe disrupts that heaviness. The Dijon mustard provides a sharp, sophisticated kick that cuts through the fat. The smoked paprika adds a layer of complexity that mimics the flavor of bacon without the meat, keeping it vegetarian-friendly. Finally, the fresh dill wakes up your palate with a clean, herbal finish.
Moreover, this dish is a nutritional powerhouse. In a world of carb-heavy appetizers, these are a Gluten-Free, keto-friendly, and high-protein option that actually keeps your guests fueled and happy. They are the perfect solution when you need to bring a dish that accommodates various dietary restrictions without sacrificing flavor.
The Culinary Value: Mastering The Perfect Boil
Beyond just a recipe, this guide offers you a foolproof technique you will use for the rest of your life: The Perfect Hard-Boil.
Many home cooks are intimidated by boiling eggs. We’ve all been there—trying to peel an egg only to have half the white come off with the shell, looking like the surface of the moon. Or cutting into an egg to find a chalky, grey-green ring around the yolk (a sign of overcooking and sulfur reaction).
By following the execution steps below, you will learn:
- The Shock Method: How to use thermal shock to ensure the shells slip off like silk.
- Emulsification: How to whip the yolks to get a texture akin to a fine mousse, rather than a lumpy paste.
- Flavor Layering: Understanding how acid (vinegar), heat (mustard), and fat (mayo) work together to create a “moreish” sensation.
This is cost-effective cooking at its finest. Eggs are an affordable protein, yet with the right technique, they present as a luxury hors d’oeuvre.
A Bite of History and Nostalgia
The term “deviled” in relation to food first appeared in the 18th century. In culinary history, to “devil” something meant to cook it with fiery hot spices or condiments. While our modern version isn’t necessarily spicy, it carries that spirit of adding zest and piquant flavors to a mild base.
For many of us, deviled eggs trigger a deep sense of nostalgia. They remind us of summer barbecues, Easter brunches, and potlucks at the community hall. They are a communal food, meant to be shared from a single platter.
When you serve these Deviled Eggs with Paprika and Dill, you aren’t just putting food on the table; you are inviting a “casual family gathering” vibe into your home. You are participating in a tradition of hospitality that spans generations. There is a specific joy in watching a full tray vanish in minutes—it connects the cook to the guests in a way few other dishes can.
The Recipe
This section is your roadmap to perfection. Read through the ingredients and steps entirely before turning on the stove.
Equipment You Will Need
- Large saucepan with a lid
- Large bowl (for the ice bath)
- Sharp chef’s knife
- Mixing bowl
- Fork (for mashing) or a food processor (for ultra-smooth texture)
- Piping bag with a star tip (optional, but recommended for presentation) or a Ziploc bag with the corner cut off.
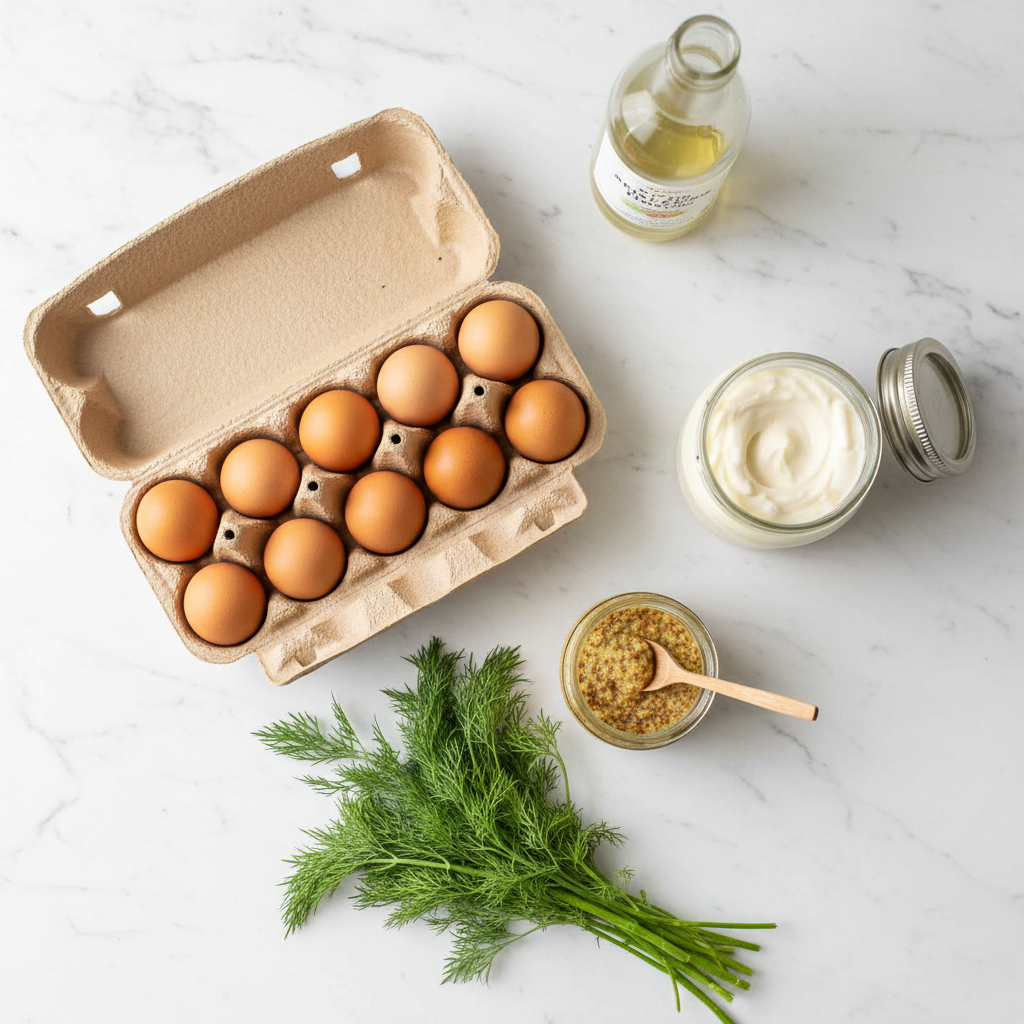
Ingredients
The Base:
- 6 Large Eggs: Ideally 7-10 days old (older eggs peel easier than brand new fresh ones).
- Ice: Essential for the cooling bath.
The Filling:
- 3 tbsp Mayonnaise: Use full-fat for the best texture. If you want a lighter version, you can swap half for Greek yogurt, though the flavor will change slightly.
- 1 tsp Dijon Mustard: Do not substitute with yellow mustard; Dijon provides the necessary white wine/spicy heat profile.
- 1 tsp Apple Cider Vinegar: Lemon juice works in a pinch, but vinegar adds a distinct tang.
- Salt and Black Pepper: To taste.
The Garnish:
- Smoked Paprika: A generous dusting. Sweet paprika works for color, but smoked adds flavor.
- Fresh Dill: 1-2 tablespoons, chopped finely, plus small sprigs for topping.
Step-by-Step Instructions
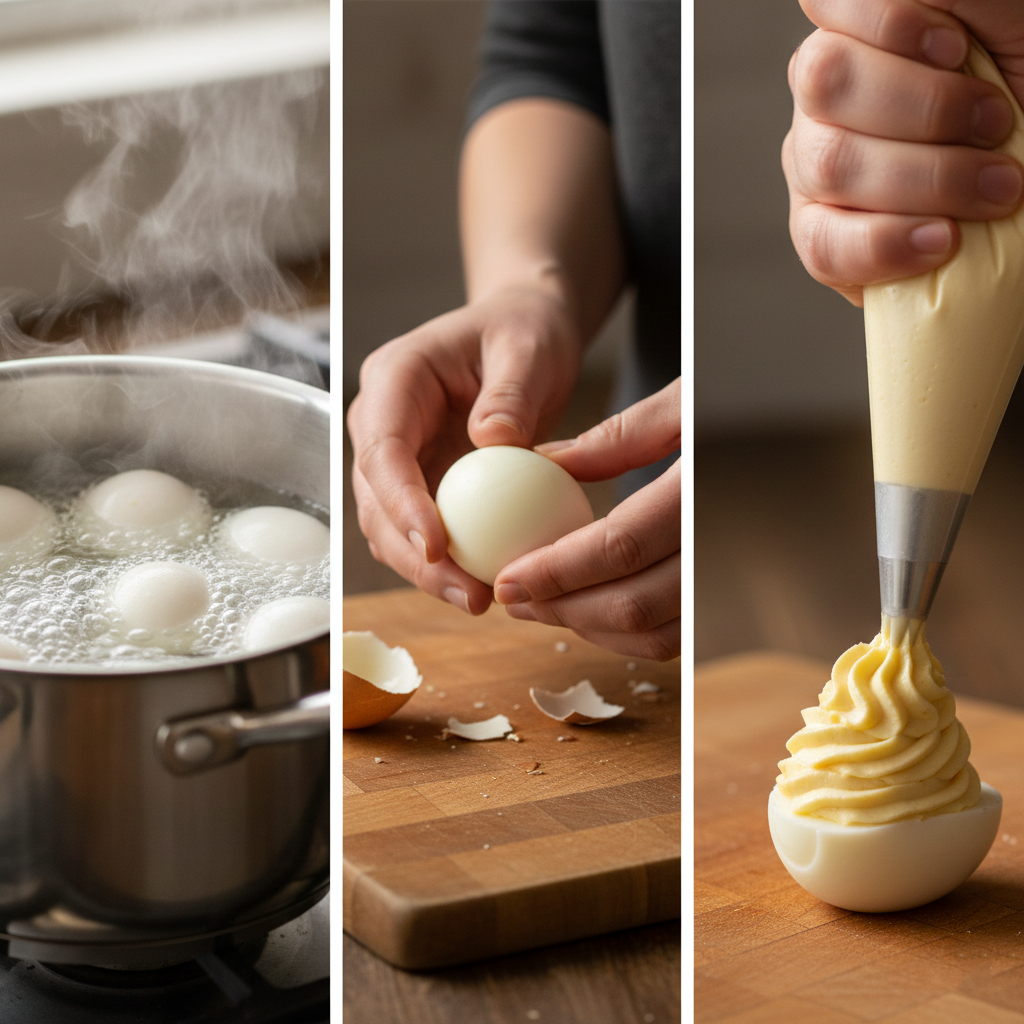
1. The “Steam” Boil Method Place your eggs in a single layer in the saucepan. Add cold water until the eggs are covered by at least an inch. Place the pot on the stove over high heat and bring it to a rolling boil.
- Crucial Moment: As soon as the water hits a boil, turn the heat off. Cover the pan with a tight-fitting lid.
- Let the eggs sit in the hot water for exactly 10 to 12 minutes. (10 for slightly jammy centers, 12 for fully set but creamy).
2. The Ice Shock While the eggs are sitting, fill a bowl with cold water and plenty of ice cubes. When the timer goes off, use a slotted spoon to transfer the eggs immediately into the ice bath.
- Let them cool completely for at least 15 minutes. This thermal shock shrinks the egg body slightly away from the shell, making peeling a breeze.
3. The Peel Gently tap the egg on the counter to crack the shell all over. Start peeling at the large end (where the air pocket is). If possible, peel under a thin stream of running cool water—this helps wash away tiny shell fragments and separates the membrane. Pat the eggs dry with a paper towel.
4. The Slice and Separate Using a sharp knife, slice each egg in half lengthwise. Wipe the knife clean between cuts to keep the whites pristine. Gently squeeze the whites to pop the yolks out into a mixing bowl. Arrange the empty egg white “boats” on your serving platter.
5. The Mash and Mix Using a fork, mash the yolks until they are crumbly and fine.
- Add the mayonnaise, Dijon mustard, and apple cider vinegar.
- Season with a pinch of salt and pepper.
- Stir vigorously until the mixture is smooth and creamy. Fold in half of the chopped fresh dill.
- Pro-Move: For the smoothest filling, push the yolk mixture through a fine-mesh sieve or blitz it in a small food processor.
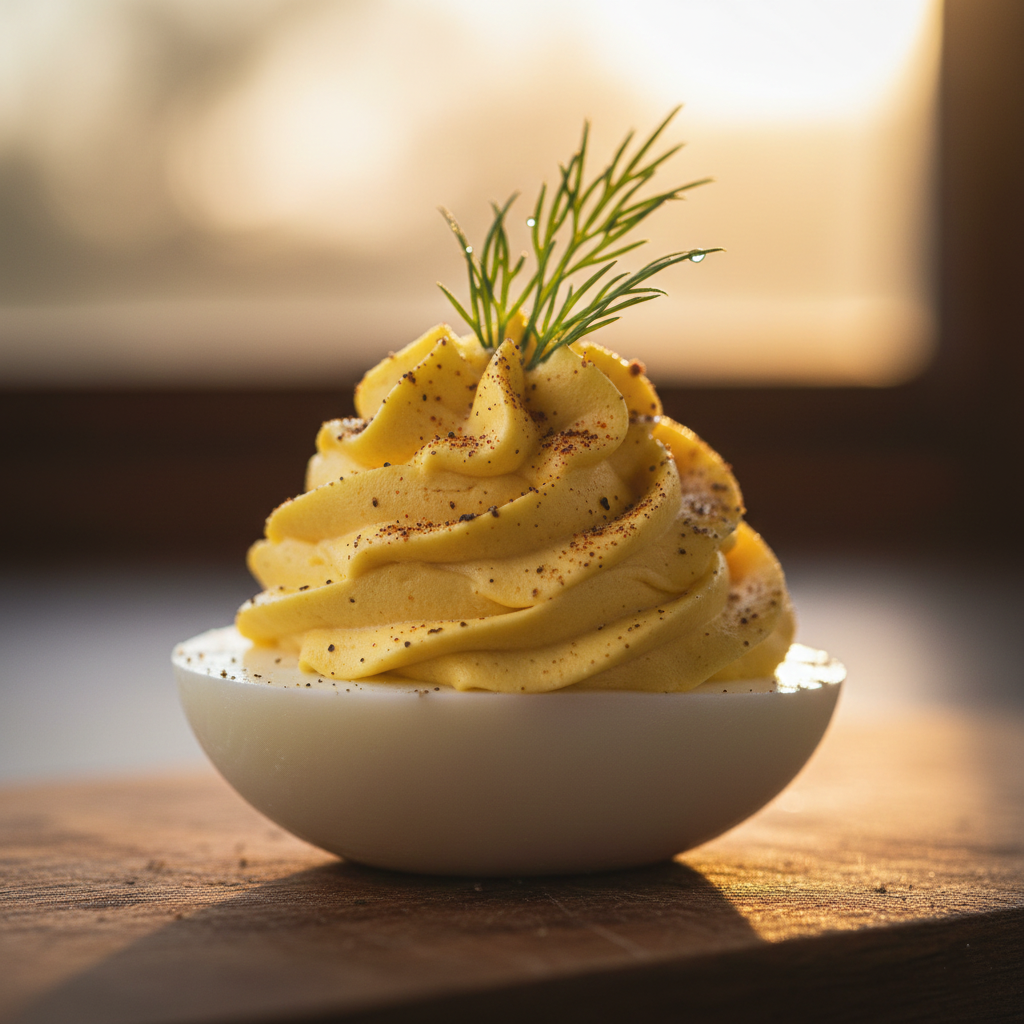
6. The Fill Transfer the yolk mixture into a piping bag fitted with a star tip (or a plastic bag with the corner snipped). Pipe a generous swirl into the cavity of each egg white. You want it to look bountiful, piling up high above the rim.
7. The Garnish Just before serving, dust the eggs lightly with smoked paprika for that pop of red color and smoky scent. Place a small sprig of fresh dill on top of each mound.
Chef’s Tips for Success
- The “Spin” Test: Not sure if your egg is boiled or raw? Spin it on the counter. If it spins smoothly, it’s hard-boiled. If it wobbles, it’s raw.
- Room Temp is Best: If possible, let your eggs come to room temperature before boiling. Cold eggs dropped into hot water are more likely to crack.
- Fixing a Runny Filling: If you accidentally added too much liquid and the filling is runny, add a teaspoon of instant mashed potato flakes or an extra boiled yolk if you have one. It thickens the mixture instantly without altering the flavor.
- Cutting Cleanly: To get that perfect, smooth cut through the white, dip your knife in warm water before slicing the egg.
Frequently Asked Questions (FAQ)
Q: Can I make these deviled eggs ahead of time? A: Yes! You can boil and peel the eggs up to 2 days in advance. You can also make the filling a day ahead, but store the whites and the filling separately. Pipe the filling into the whites on the day you plan to serve them for the freshest taste.
Q: How do I store leftovers? A: Store leftovers in an airtight container in the refrigerator. They are best eaten within 2 days. To keep them looking nice, try to use a container deep enough that the lid doesn’t squash the filling.
Q: Can I use dried dill instead of fresh? A: You can, but use it sparingly as dried herbs are more potent. Use about 1 teaspoon of dried dill for the mixture. However, for the garnish, fresh dill is highly recommended for that visual appeal and textural contrast.
Q: What is a good substitute for mayonnaise if I want it lighter? A: You can substitute half or all of the mayonnaise with plain Greek yogurt or even mashed avocado. Avocado will turn the filling green, but it adds a wonderful creaminess and healthy fats!
Q: Why are my hard-boiled yolks green on the outside? A: This is a reaction between the sulfur in the white and the iron in the yolk, caused by overcooking. Stick to the “boil and sit” method described above to keep your yolks bright yellow and creamy.
Conclusion
Cooking is rarely just about sustenance; it is about the feeling you get when you present a dish to the people you love. These Deviled Eggs with Paprika and Dill are more than just a snack—they are a conversation starter, a nostalgic throwback, and a testament to how simple ingredients can transform into something spectacular with just a little care.
Whether you are hosting a summer BBQ, a holiday dinner, or just looking for a high-protein snack to keep in the fridge, this recipe delivers on all fronts: texture, flavor, and visual appeal.
So, grab a carton of eggs, dust off that paprika, and get boiling. The perfect bite awaits!
Did you try this recipe? We’d love to see your creations! Snap a photo and tag us with #DeviledEggsPerfection.
Leave a Comment