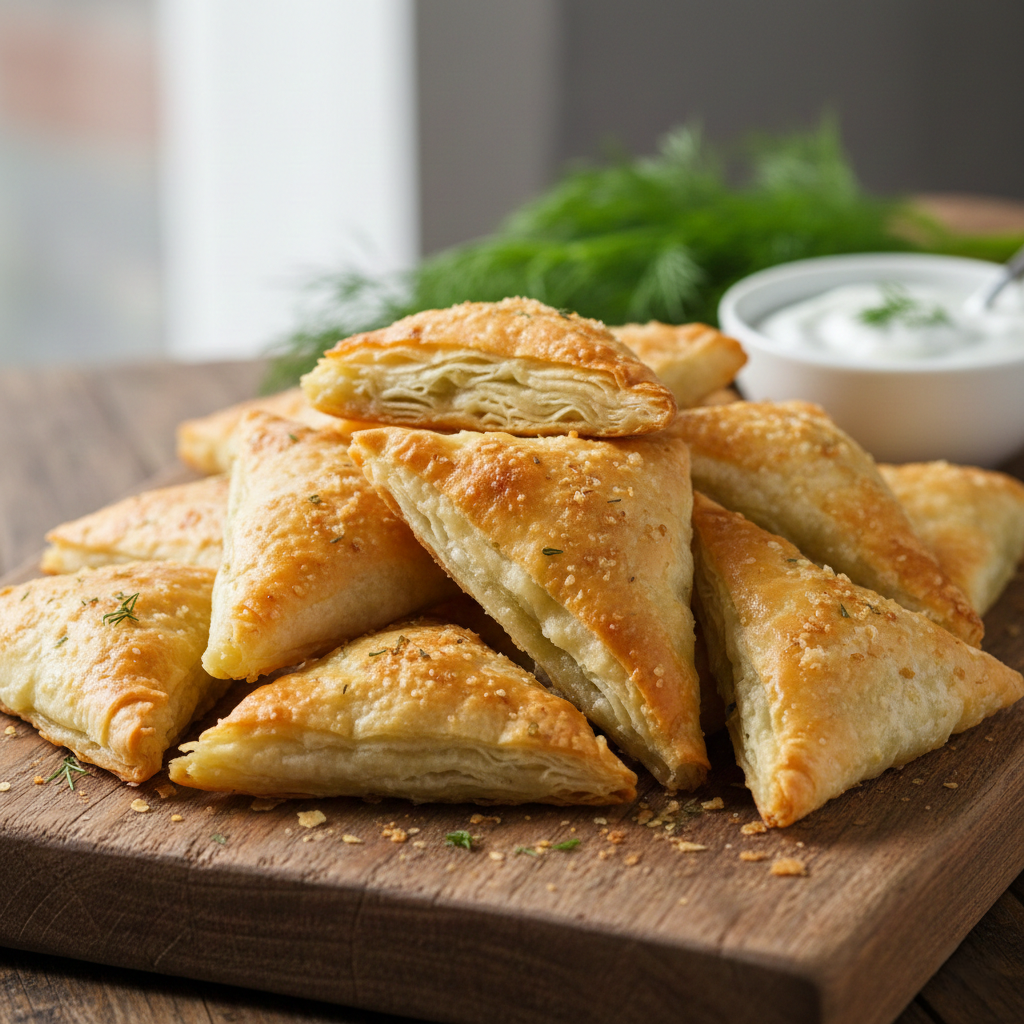
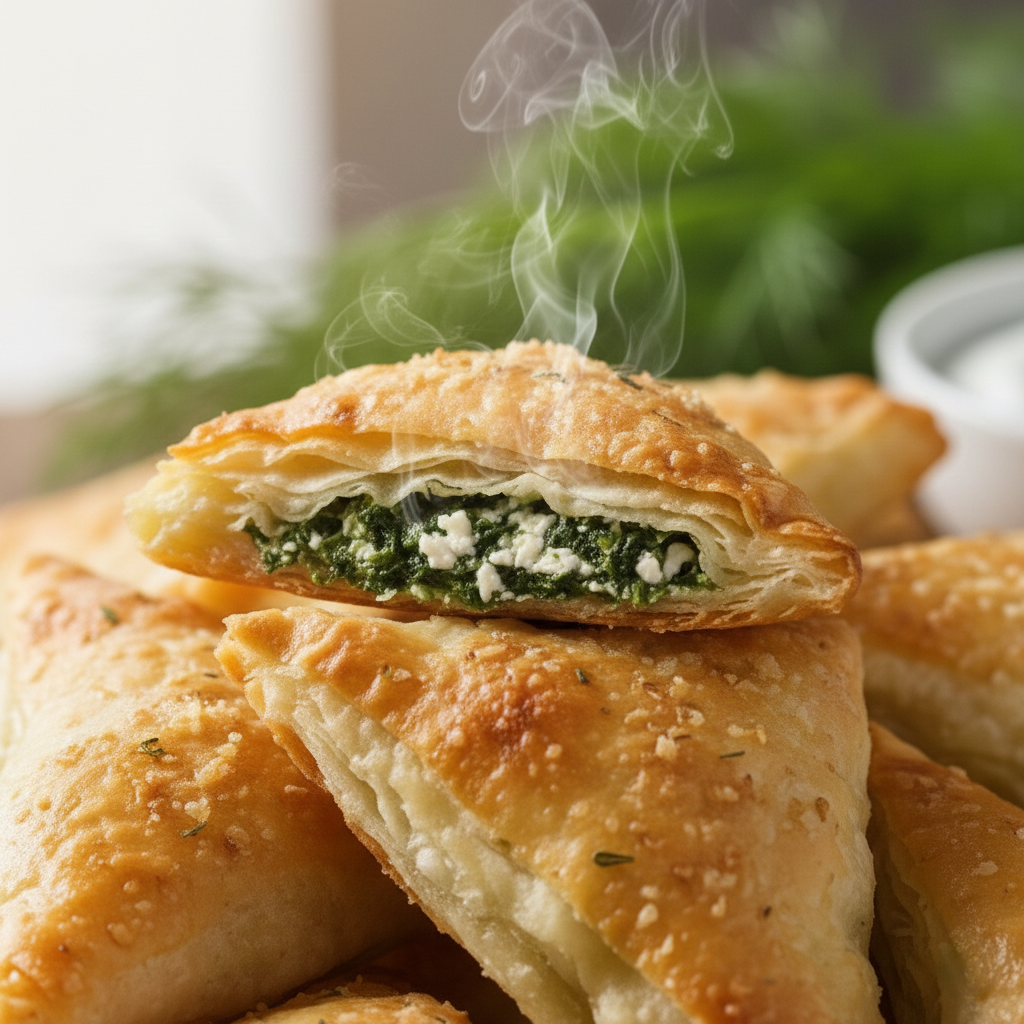
Imagine biting into a cloud. Now, imagine that cloud is made of a thousand paper-thin, buttery layers that shatter upon impact, revealing a steaming, savory heart of salty cheese and earthy greens. This isn’t just a pastry; it is an experience.
Welcome to the world of Spanakopita Triangles (or Spanakopitakia as they are affectionately known in Greece). While the name might sound intimidating to the uninitiated, this dish is the undisputed king of the Mediterranean buffet table. It is the perfect marriage of rustic comfort and elegant presentation.
Whether you are hosting a high-end cocktail party or looking for a comforting vegetarian snack on a rainy Tuesday, these golden parcels deliver a flavor punch that punches well above its weight class. Today, we aren’t just following a recipe. We are going to master the art of handling phyllo dough, balance the brine of feta with the creaminess of ricotta, and create a dish that will have your friends asking, “Which bakery did you buy these from?”
Let’s get cooking.
Why You Need This Recipe in Your Life
Why should you spend time folding dough into triangles? Because the payoff is immense. There is a profound satisfaction in pulling a tray of these out of the oven. The aroma alone—scented with butter, dill, and baking pastry—is enough to draw anyone from the furthest corners of the house into the kitchen.
Unlike store-bought appetizers which often suffer from soggy bottoms or tasteless fillings, homemade Spanakopita offers a texture contrast that is mind-blowing. You control the crispness. You control the filling-to-pastry ratio. Furthermore, these are the ultimate “make-ahead” secret weapon. You can prep them, freeze them raw, and bake them fresh whenever unexpected guests drop by.
Nutrition, Economy, and Skill Building
Beyond the taste, there is significant value in mastering this dish.
Nutritional Highlights
While we are using butter (and we won’t apologize for it!), the filling is a nutrient-dense powerhouse.
- Spinach: Loaded with iron, Vitamin K, and antioxidants. It brings an earthy depth that grounds the richness of the cheese.
- Feta & Ricotta: These provide high-quality protein and calcium. By mixing the two, we temper the intense saltiness of the feta, creating a balanced, creamy profile.
Skill Acquisition: Taming the Phyllo
Many home cooks are terrified of phyllo dough. They hear horror stories of it drying out and crumbling into dust. By following this guide, you will conquer that fear. You will learn the “damp towel method” and the “flag fold technique,” skills that you can transfer to making baklava, samosas, or apple turnovers in the future.
A Bite of History
To make Spanakopita is to participate in a culinary tradition that spans centuries. While we associate it closely with Greece, the concept of stuffed phyllo travels through the history of the Ottoman Empire and the Middle East. The word phyllo (or filo) literally translates to “leaf” in Greek, referring to the leaf-thin nature of the dough.
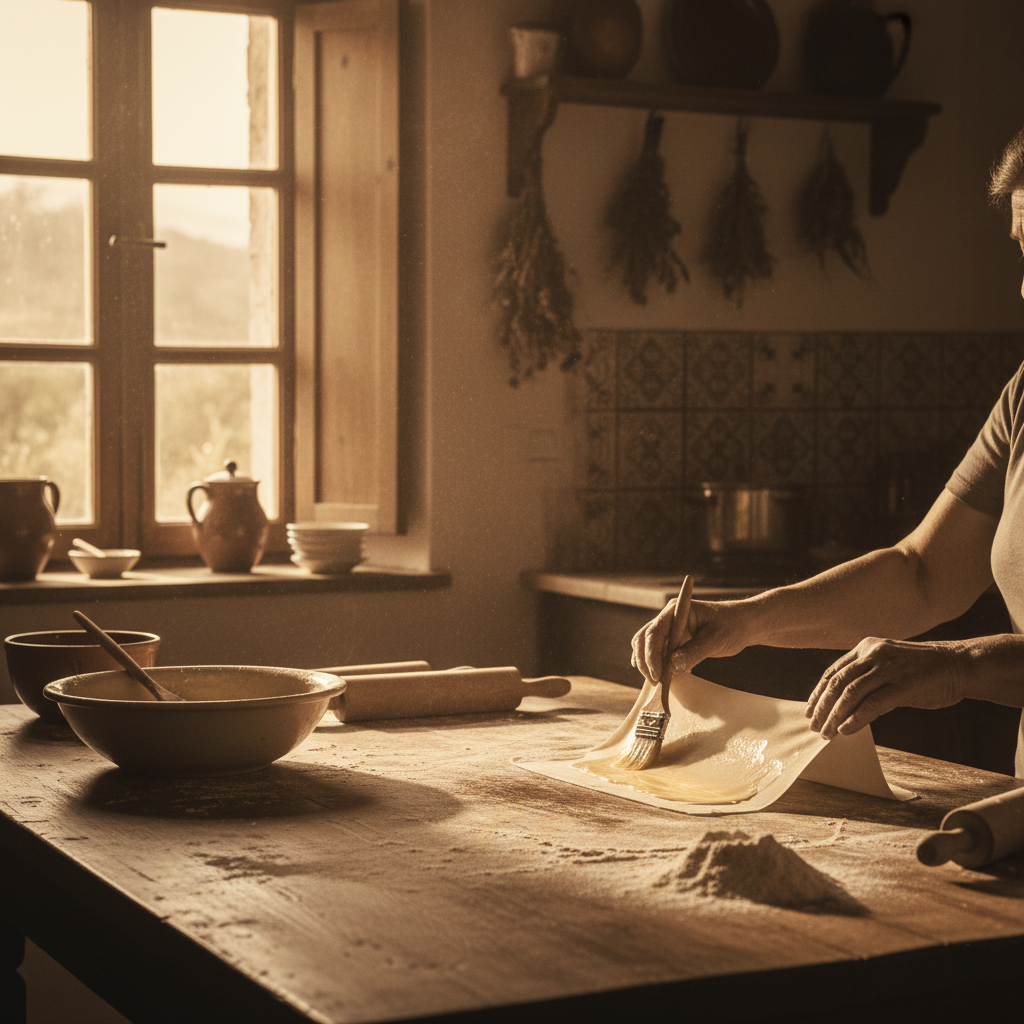
In Greek culture, food is a love language, and Spanakopita is often a communal effort. Grandmothers (yiayias) and grandchildren sit around a table, brushing and folding, sharing stories while their hands work in a rhythmic, practiced motion. By making this, you are connecting to that spirit of hospitality (philoxenia).
The Master Recipe
Here is how we turn these concepts into reality. Read through the instructions entirely before starting—success with phyllo requires readiness!
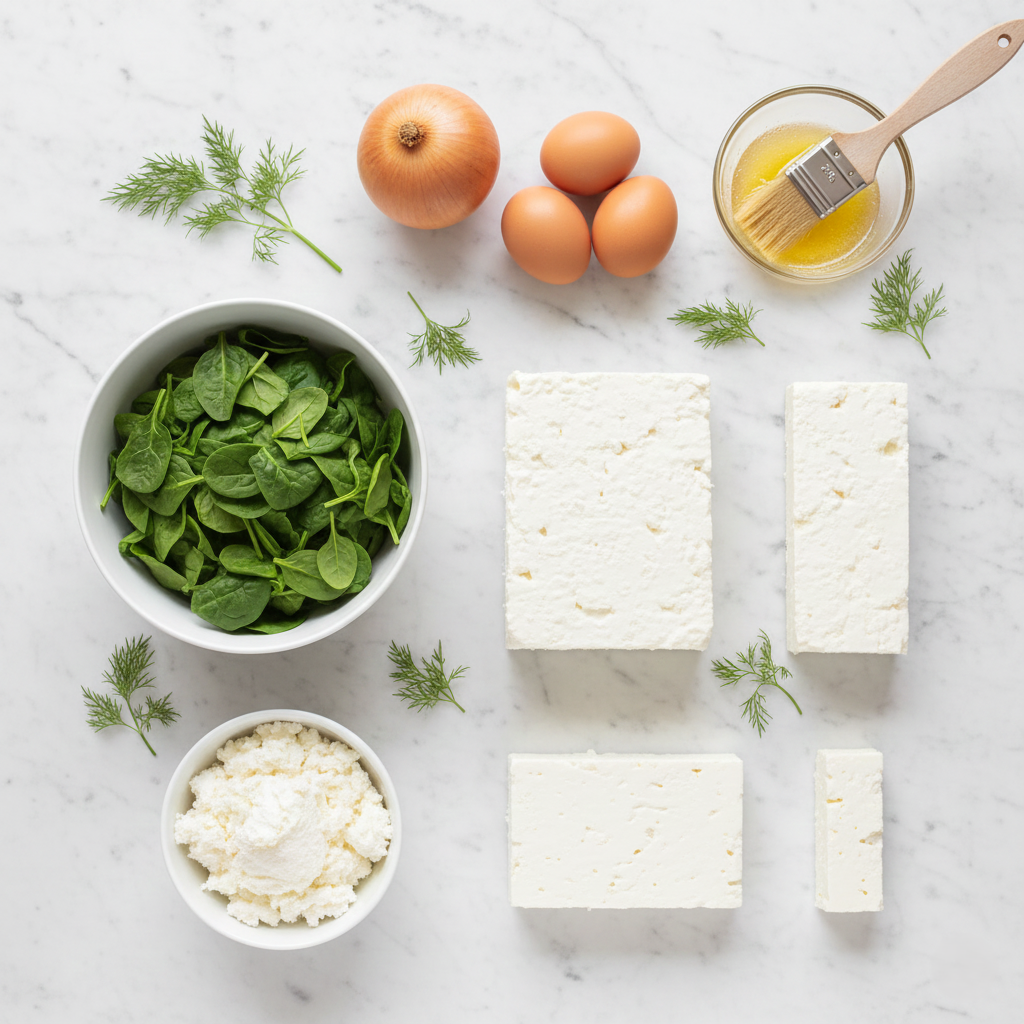
Ingredients
The Crispy Exterior:
- Phyllo Dough: 1 pound (450g) box, thawed overnight in the fridge. (Do not try to speed-thaw this!)
- Unsalted Butter: 1 cup (2 sticks / 225g), melted and cooled slightly.
The Savory Filling:
- Frozen Chopped Spinach: 10 oz (280g). See Chef’s Tips regarding preparation.
- Feta Cheese: 8 oz (225g), crumbled. Try to buy a block in brine and crumble it yourself for better texture.
- Ricotta Cheese: ½ cup (120g). This adds a velvety texture that binds the feta.
- Yellow Onion: 1 small, finely chopped.
- Green Onions (Scallions): 3 stalks, thinly sliced (white and light green parts).
- Fresh Dill: ¼ cup (10g), chopped. Dried dill does not compare here—go fresh!
- Fresh Parsley: 2 tablespoons, chopped.
- Eggs: 2 large, lightly beaten.
- Olive Oil: 1 tablespoon (for sautéing).
- Lemon Zest: 1 teaspoon (optional, but brightens the flavor).
- Black Pepper: To taste. (Go easy on the salt, as feta is very salty).
Equipment Needed
- Baking sheets (2) lined with parchment paper.
- Pastry brush (natural bristle or silicone).
- Large mixing bowl.
- Skillet.
- Clean kitchen towel (dampened).
- Sharp knife or pizza cutter.
Step-by-Step Instructions
Phase 1: The Filling Preparation
- The Great Squeeze: This is the most critical step. Thaw your frozen spinach completely. Place it in a clean kitchen towel or cheesecloth and twist. Squeeze out every single drop of liquid you can. If you think you are done, squeeze again. Wet spinach equals soggy pastry. You want the spinach to be dry and fluffy.
- Sauté Aromatics: Heat 1 tablespoon of olive oil in a skillet over medium heat. Add the chopped yellow onion and green onions. Sauté for about 5–8 minutes until they are soft and translucent, but not browned. Add the spinach to the pan and cook for another 2 minutes to evaporate any residual moisture. Remove from heat and let it cool completely.
- Mix the Filling: In a large bowl, combine the crumbled feta, ricotta, cooled spinach mixture, fresh dill, parsley, and lemon zest. Stir in the beaten eggs and black pepper.
Phase 2: The Phyllo Setup
- Prepare the Station: Clear a large workspace. Unroll your phyllo dough. Immediately cover the stack with a sheet of plastic wrap, and place a slightly damp (not wet!) towel on top of the plastic. This prevents the dough from drying out and becoming brittle.
- Cut the Strips: Using a sharp knife, cut the stack of phyllo lengthwise into strips about 3 inches (7.5 cm) wide. You should get 3 or 4 long strips depending on the dimensions of your dough sheets.
Phase 3: The Fold (The Flag Method)
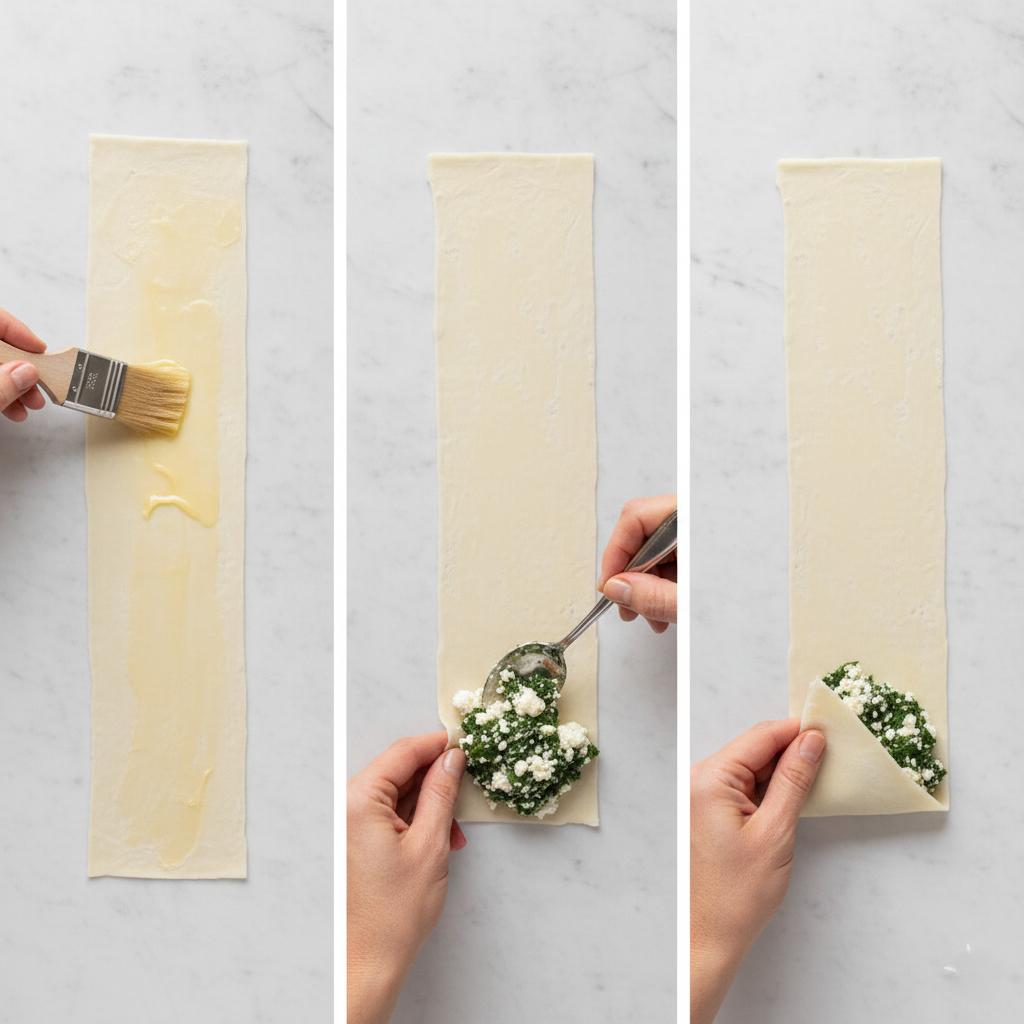
- Layering: Take one single strip of phyllo. Brush it lightly with melted butter. Place a second strip directly on top of the first. Brush that with butter as well.
- Filling: Place a generous tablespoon of the spinach filling at the bottom corner of the strip.
- Folding: Fold the bottom corner (with the filling) up diagonally to meet the opposite edge, forming a triangle. Fold that triangle straight up. Fold it diagonally again. Continue this “flag-folding” pattern until you reach the top of the strip.
- Seal & Repeat: Brush the final outer layer with butter to seal. Place seam-side down on your baking sheet. Repeat until all filling is used.
Phase 4: The Bake
- Preheat: Preheat your oven to 375°F (190°C).
- Final Brush: Give the tops one final, generous brush of melted butter.
- Bake: Bake for 20–25 minutes. You are looking for a deep golden color, not pale yellow. The darker the golden hue, the crispier the crunch.
- Cool: Let them sit on the tray for 5 minutes before serving.
Chef’s Tips for Success
- The Ricotta Secret: Traditionalists use only feta, which can sometimes be dry. The addition of ricotta acts as a binding agent, ensuring the filling is creamy and luscious.
- Clarified Butter: If you want to get really fancy, use clarified butter (ghee). It has a higher smoke point and keeps pastry crispier.
- Don’t Overstuff: If the triangle is too full, it will burst in the oven.
Frequently Asked Questions
Q: Can I make these ahead of time?
A: Absolutely! Assemble the triangles, place them on a baking sheet in the freezer until solid, then transfer to a ziplock bag. Bake straight from frozen (add 5–10 minutes to bake time).
Q: Fresh spinach vs. frozen spinach: which is better?
A: For this specific recipe, frozen spinach is easier to work with because the cell walls are already broken down, making it easier to squeeze out water.
Q: My phyllo is cracking every time I touch it. What is wrong?
A: It is likely too dry. Ensure your towel covering the stack is damp (not soaking wet) and work quickly.
Conclusion
There you have it—the blueprint for the perfect Spanakopita Triangle.
The beauty of this dish lies in the transformation. You start with a pile of leafy greens and a stack of fragile, paper-like dough, and you end up with a tray of golden, buttery ingots of flavor. Grab that pastry brush, turn on the oven, and fill your kitchen with the smell of butter and dill. Happy cooking!